We may receive a commission on purchases made from links.
No matter how much you plan, problems are going to arise.
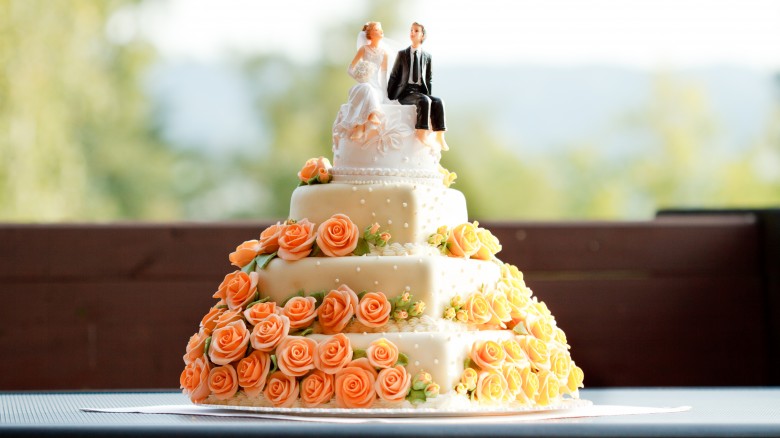
Here’s my step-by-step guide to making a homemade wedding cake.

But if you’re hesitant from the start, forget about it.
So don’t be insulted if the bride and groom aren’t into the idea.
Everyone needs to be on board and on the same page.

If the wedding couple is excited for a homemade cake, hooray!
Ask them if they have wedding colors and what styles they like.
confirm you understand their vision of their reception so your cake fits in with the rest of the decor.

Or let someone else wrap the cakes in plastic wrap before they’re stored in the freezer.
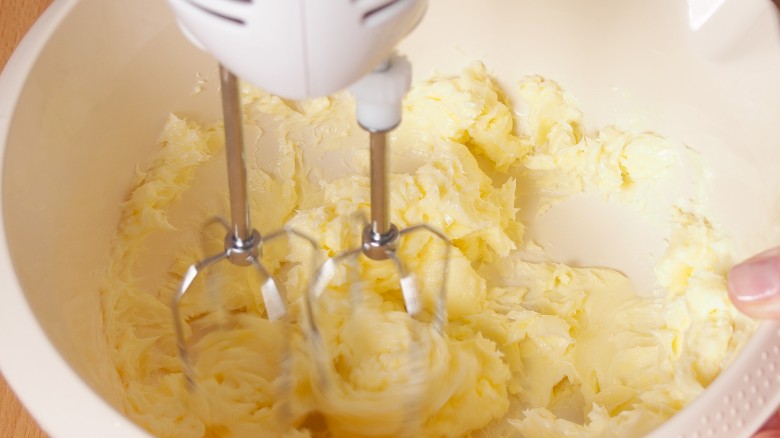
Try a few recipes for each flavor of cake, filling, and frosting.
If a recipe feels fussy or requires a ton of a very expensive ingredient, just scrap it.

This is not the time to make a cake that requires lots of delicate folding and perfect timing.
Pick acake recipethat’s foolproof and simple and you’ll have one less thing to worry about.
Mix and match cakes, fillings, and frostings to find what combination is both tasty and easy.

Calculate how much cake you need
Use anonline calculatorto determine what size cake to make.
Know that wedding cake servings are usually smaller than regular cake servings.
Also, ask the bride and groom if they plan to keep the top tier as a memento.

Some couples may want to follow the tradition of freezing that cake and eating it on their first anniversary.
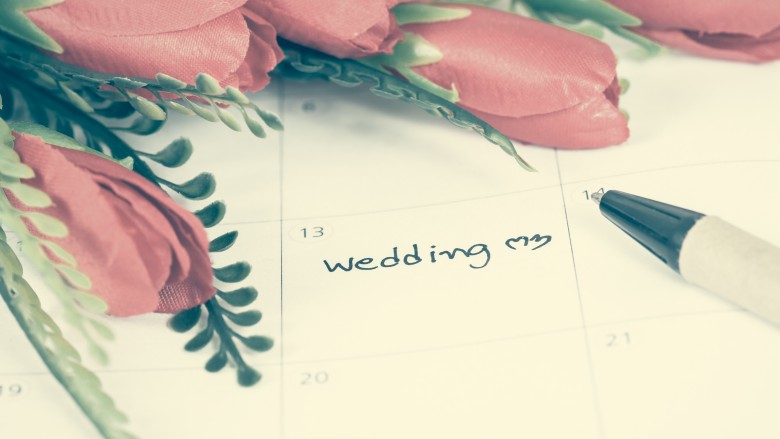
Plan which day or days you will bake, make the filling and frosting, and assemble.
They can be expensive, so if you don’t own one, have a go at borrow one.
You may also want to buy a set ofcake stripsto help keep your cakes flat and level.
They’re especially helpful for large cakes.
Cake boxes can be useful for storing and transporting cake tiers.
If you’re using fresh flowers, plastic holders keep inedible flowers off your frosting.
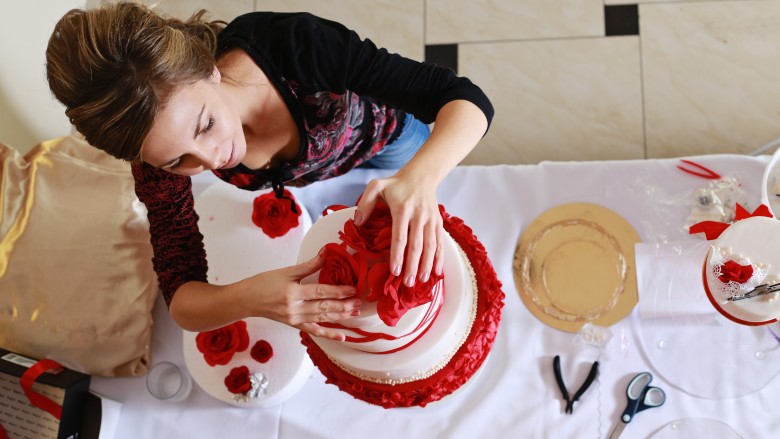
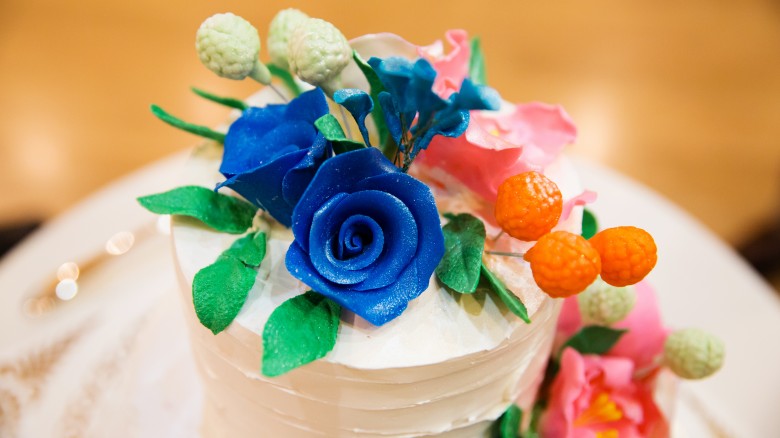
Plan and prep the decoration
For me, the cake is the easy part.
But I don’t have the patience or skill to make thousands of fondant flowers or smooth buttercream perfectly.
Covering frosting with shredded coconut orwhite chocolate curlsis another easy way to hide imperfections.
I’ve also seen a gorgeous wedding cake covered in rainbow sprinkles.
Thisfrosting that looks like a cloudis simple but looks dreamy.

Choose decoration you feel comfortable doing and remember that simple is usually better.
Whenscaling up a recipe, be sure to scale by area, not diameter of the pans.
Make a list, and then buy one extra container of everything.
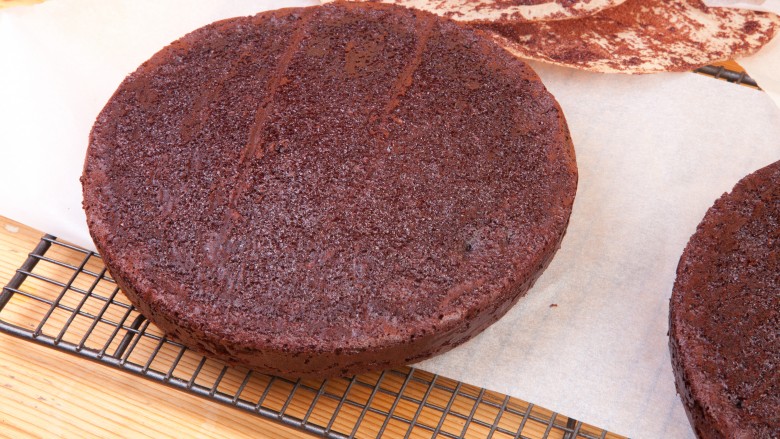
Let your cake cool completely before wrapping it in three layers of plastic wrap.
Store in the freezer for up to one month.
It’s much easier to trim, fill, and frost your cake while it’s frozen.
The few hours it takes you to fill, frost, and decorate will be sufficient.
But some frostings need to be made closer to when the cake will be served.
Once again, overestimate how much you need.
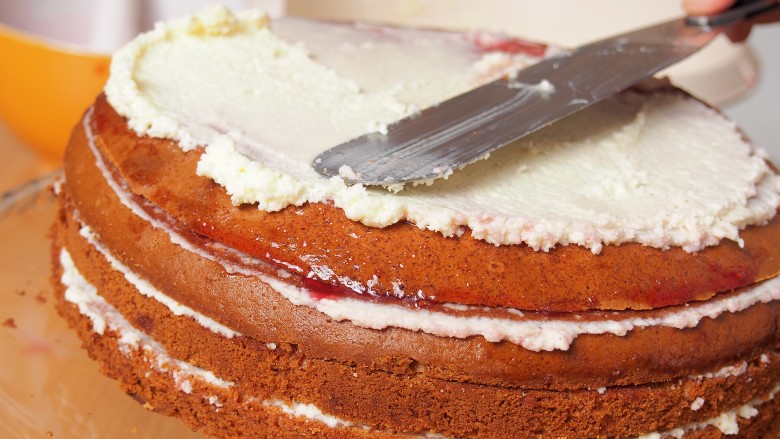
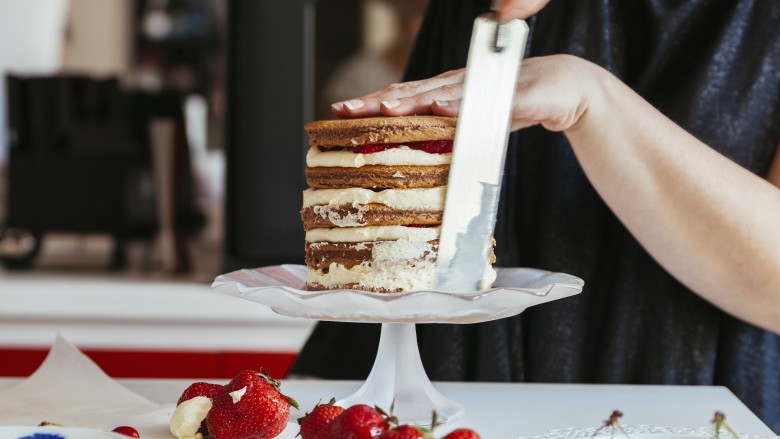
Pipe a circle of frosting around the circumference of the cake, and then neatly pipe in your filling.
Place the next layer on top, and repeat until all the layers in this tier are stacked.
Then use your icing spatula to apply a thin “crumb coat” of frosting all over the cake.
Put this tier in the fridge for at least 30 minutes to set.
Repeat with all your tiers.
Put the tiers in cake boxes in the fridge until you’re ready to go.
Set up your cake stand on a moving table or at its final destination in the reception hall.
Finally, gently stack the tiers it can help to have some extra help for this sometimes nerve-wracking step.
Add final decorations
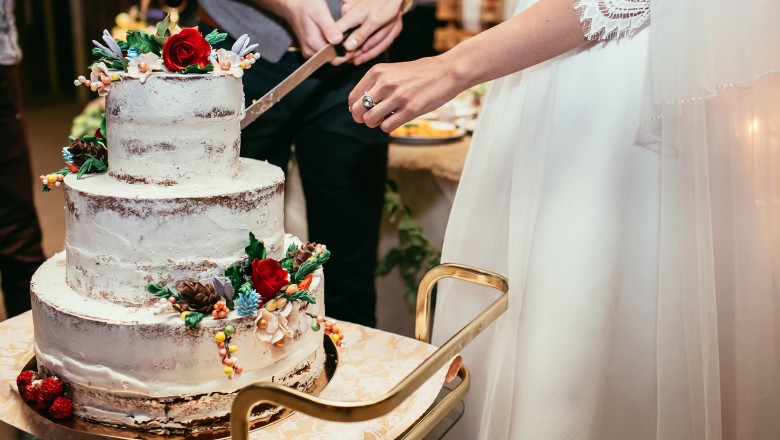
Phew, you did it!
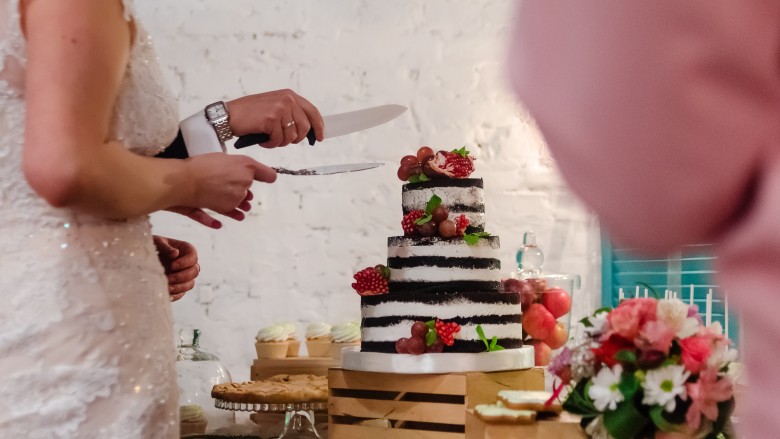
The hardest part is over.
And check that to get one of yourself with the cake!
Take a step back and enjoy your hard work and then enjoy the rest of the wedding!